
Hi there, designer 👋
After my last newsletter about finishing the design documentation for a large project, a designer reached out and asked me a great question:
“What does your actual design process look like?”
I realized this is something many designers are curious about, because when you're starting out it can feel unclear how a professional project actually moves from idea to completion.
So I thought I would share a little behind-the-scenes look at how projects run inside my studio.
Over the years I’ve refined what I now think of as my 7-Phase Design Process — the structure that guides a project from the first conversation all the way to the installation day.
Here’s what that typically looks like.
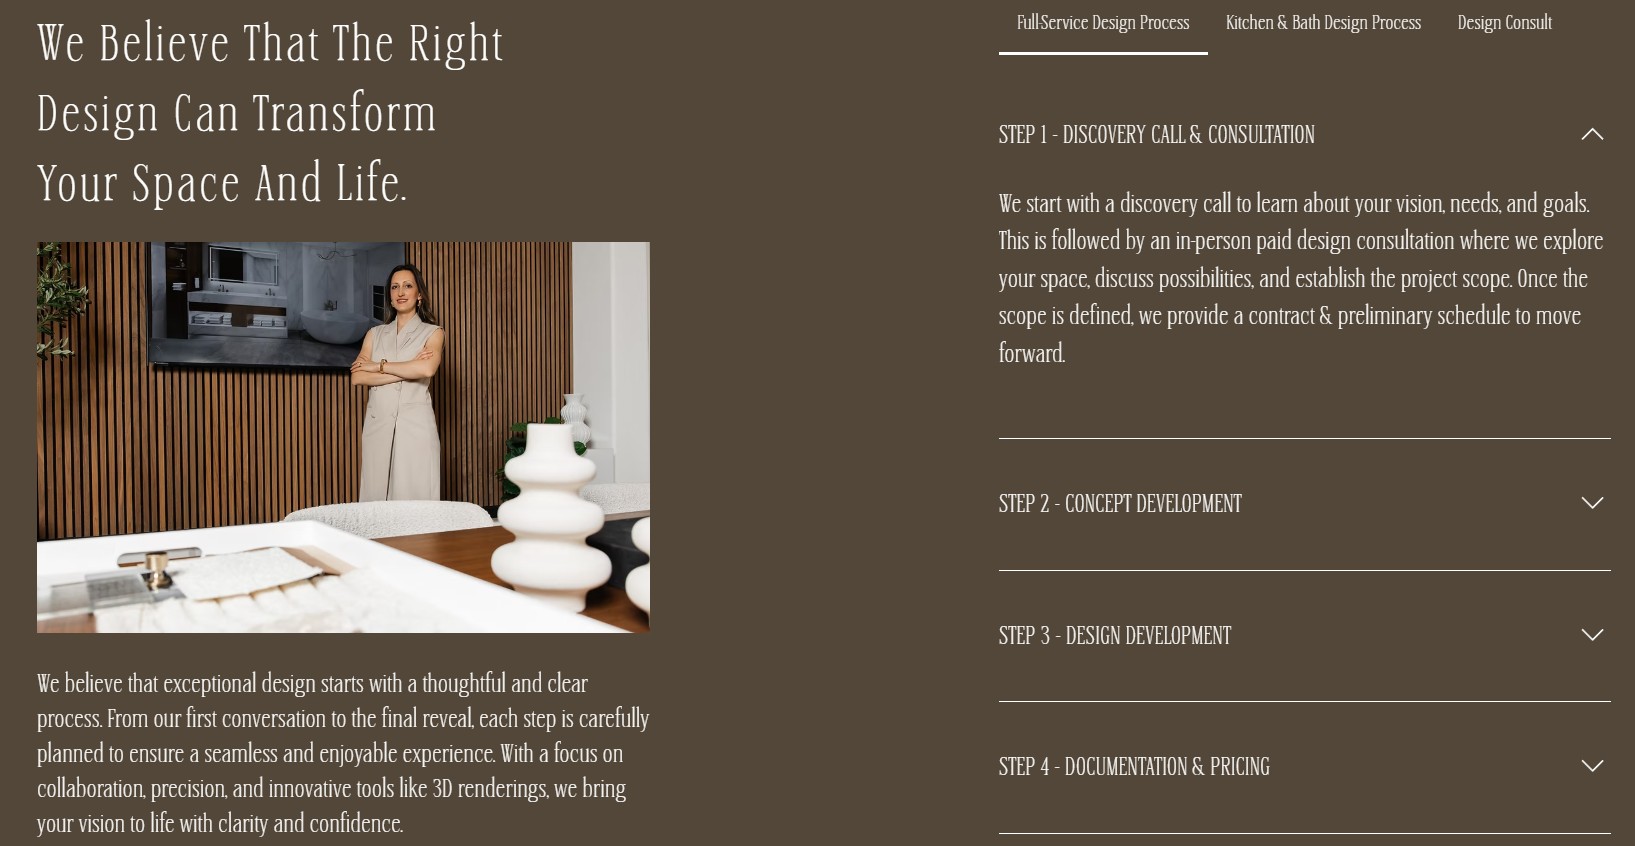
Step 1 — Discovery Call & Consultation
Every project begins with a discovery call where we discuss the scope and ideal timeline.
From there, we schedule an in-person paid consultation. This is where I walk the space, explore possibilities, and gather the information needed to properly define the scope of work.
Once the scope is clear, I present a contract along with an initial schedule. (Always present your fees via call or Zoom to thoroughly explain what is included—not to scare them off 🙂)
For new inquiries, I always require an intake form first. This helps ensure the client meets my project minimums and is the right fit. For example, a kitchen project in my area must start at a certain investment level to be realistic.
This step protects both your time and the client experience.
Step 2 — Schematic/Concept Development
This is where ideas begin to take shape.
We focus on space planning, functional layouts, and overall design direction. Mood boards and early concepts help align the aesthetic vision.
At this stage, we also begin discussing preliminary budgets.
This part is essential.
I always think of the overall budget as a pie—and each area of the project as a slice. Understanding how those slices are allocated early prevents major surprises later.
Step 3 — Design Development
This is the most design-intensive phase.
Concepts are refined, materials and finishes are selected, and furniture direction is developed. Even if pieces are placeholders at this stage, the overall aesthetic must be cohesive.
I create 3D renderings & walk-throughs to help clients clearly visualize the final outcome before anything is built or ordered.
Step 4 — Documentation & Pricing
Once the design is approved, I prepare a full documentation package.
This includes layouts, elevations, millwork details, and all technical drawings required for contractors and architects to move forward.
At the same time, I begin gathering pricing—both from the GC and for any items I source directly (such as plumbing fixtures or flooring or tiles etc.).
This allows us to review the full financial picture together before moving into execution.
Step 5 — Procurement & Implementation
With approvals in place, we move into sourcing and purchasing.
This includes furniture, lighting, materials, and décor—along with managing vendors, orders, logistics, and deliveries.
From a business perspective, this phase is incredibly important.
This is where implementation fees and product markups come into play—and depending on the project, this phase can sometimes exceed the design fee itself.
Step 6 — Construction Oversight
During construction, I conduct regular site visits to ensure everything aligns with the design plans.
Adjustments are coordinated with the contractor as needed to keep the project moving smoothly.
Over time, I’ve learned to stay very clear on my role here.
I am not the project manager—and I make that clear from the beginning. My responsibility is to ensure the design is executed correctly, not to manage the entire construction process.
Setting this boundary is essential.
Step 7 — Installation & Reveal
This is the final stage—and always the most rewarding.
Furniture, lighting, and décor are delivered and installed. Everything is styled and layered to bring the design together.
I always ensure items are held in receiving until the project is ready—never delivered directly to site too early. This helps prevent damage and avoids unnecessary liability.
And then comes the best moment:
When the client walks into their completed home for the first time.
*Feel free to take a peek at my process if you're struggling to narrow down yours!
—
One thing I’ve learned over the years is that great design isn’t just about creativity.
It’s also about having a clear and structured process that guides a project from the first conversation all the way to the final reveal.
Another important part of that process is how the project is structured financially.
For the design phase, my studio typically works on a simple structure:
50% of the design fee is collected before the project begins.
The remaining 50% is collected before the final design documentation and drawings are released. (Sometimes adjusted to 75/25 depending on scope and timeline.)
At that point, the design phase is complete.
The project then moves into the implementation and procurement phase, which is structured separately.
For that phase, my studio charges:
• a 10% procurement administration fee
• a 35% markup on sourced items
Construction administration during the build is billed hourly, depending on the duration and complexity of the project.
My advice is definitely to bill hourly—I’ve always lost money with flat fees during construction administration. Some weeks require multiple site visits instead of just one, as outlined in the contract. Over the years, I’ve learned it’s better to be safe than sorry when it comes to compensation.
Separating these phases helps both the client and the studio manage the project more effectively.
And if I’m being honest, it took me years to refine this structure.
Most designers don’t start their careers with everything perfectly organized.
We learn through projects.
Through mentors.
Through experience.
But over time, those systems become one of the most valuable parts of running a design business.
Because when your process is clear, projects run smoother, communication improves, and clients feel confident every step of the way.
If you're a designer still shaping your own process, feel free to save this email as a reference. Over time you’ll develop a structure that works best for your studio and the types of projects you take on.
Just a little behind-the-scenes look at how projects work inside my studio.
See you next week, designer 🤍
Ana 🌸
Interior Design Den


Responses